Install Ledger Live on Windows – Step by Step Guide
Install Ledger Live on Windows with our easy guide. Download the desktop app, setup Ledger Live on PC, and manage your crypto securely. Get started now.
Starting with crypto requires a secure wallet. Install Ledger Live on Windows – Step by Step Guide shows exactly how to set up your desktop app. This process protects your digital assets. Follow these instructions to complete the setup.
Ledger Live works as the main interface for your hardware wallet. It manages coins and checks balances. Using Ledger Live on Windows provides strong security. You control private keys offline.
Why Choose Ledger Live for Windows?
Choosing a wallet involves many factors. Install Ledger Live Windows gives you direct control over your funds. Ledger Live works with multiple blockchain assets. It offers a clear dashboard for all transactions.
Security Features of Ledger Live
Ledger Live stores private keys on a hardware device. This keeps them away from online threats. Each transaction needs physical confirmation on the device. No software can access keys directly.
Supported Cryptocurrencies and Networks
Ledger Live supports over 5000 coins and tokens. It covers Bitcoin, Ethereum, Solana, and many others. You can manage NFTs and stake selected assets. New networks get added regularly.
Desktop App vs Mobile App
Using the desktop version offers a larger screen. Setup Ledger Live on PC makes portfolio tracking easier. The mobile app works for quick checks. Both sync through the same device.
For more details about the application, visit the Ledger wallet app page.
System Requirements Before You Install Ledger Live Windows
Before you start, check your computer meets the minimum specs. Ledger Live Windows installation needs Windows 8 or newer. It runs smoothly on most modern PCs.
- Operating System: Windows 8, 10, or 11 (64-bit recommended)
- RAM: 2 GB minimum (4 GB suggested)
- Storage: 500 MB free space (more for blockchain data)
- USB port for connecting the Ledger device
- Internet connection for download and updates
Older systems might work but could run slowly. Make sure your USB port is functional. Disable antivirus temporarily if the installer gets blocked.
Downloading the Ledger Live Desktop Windows Installer
Getting the correct file is the first step. Go to the official Ledger website. Find the Windows download section. Choose the executable file for your system.
Where to Find the Official Download
Only download from the Ledger official site. Avoid third party sources. They might include malware. Check the URL carefully before clicking.
Checking File Integrity After Download
Ledger provides checksums to verify the file. Compare SHA256 hash with the published value. This ensures no tampering occurred. Use a simple command line tool to check.
Once downloaded, run the installer. The file name usually starts with “ledger-live-desktop”.
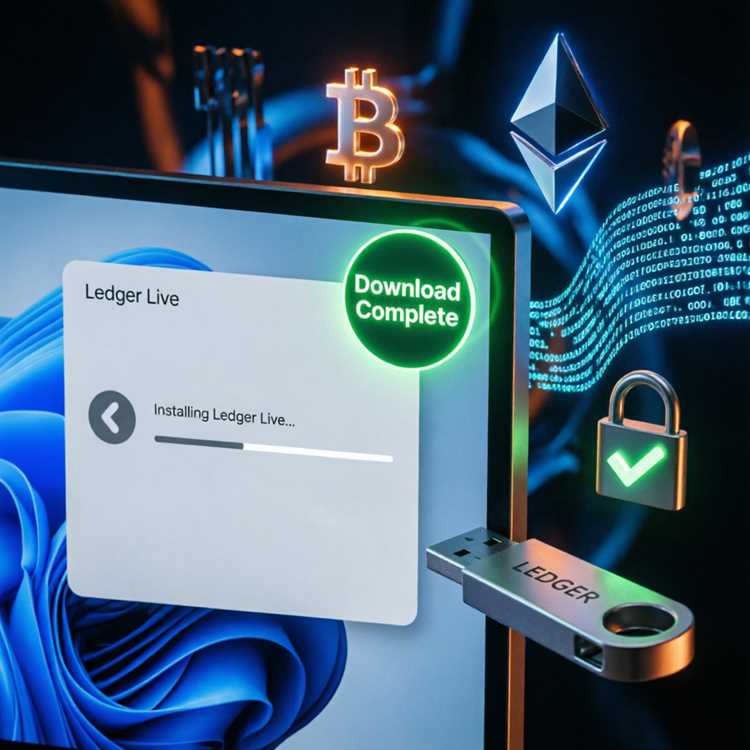
Running the Installer to Setup Ledger Live on PC
Double click the downloaded file to begin. Setup Ledger Live on PC requires admin permissions. Follow the on screen prompts. The installer will guide you through.
- Select your language and click OK.
- Accept the license agreement.
- Choose installation folder (default is fine).
- Decide if you want a desktop shortcut.
- Click Install and wait for progress to finish.
- Launch Ledger Live once installation completes.
Installation usually takes under two minutes. If a firewall prompt appears, allow access. Ledger Live needs network for updates.
Creating or Importing Your Ledger Wallet
After launching the app, you need a wallet. You can create a new wallet or import an existing one. A secure crypto with Ledger Live approach starts with proper key management.
Setting Up a New Device
Connect your Ledger device via USB. Follow the on screen instructions. The device will generate a 24 word recovery phrase. Write it down and store it safely.
Restoring from a Recovery Phrase
If you already have a phrase, choose restore option. Enter each word using the device buttons. This imports your previous wallet. All balances become visible in Ledger Live.
Never type your recovery phrase on the computer. Only enter it directly on the device.
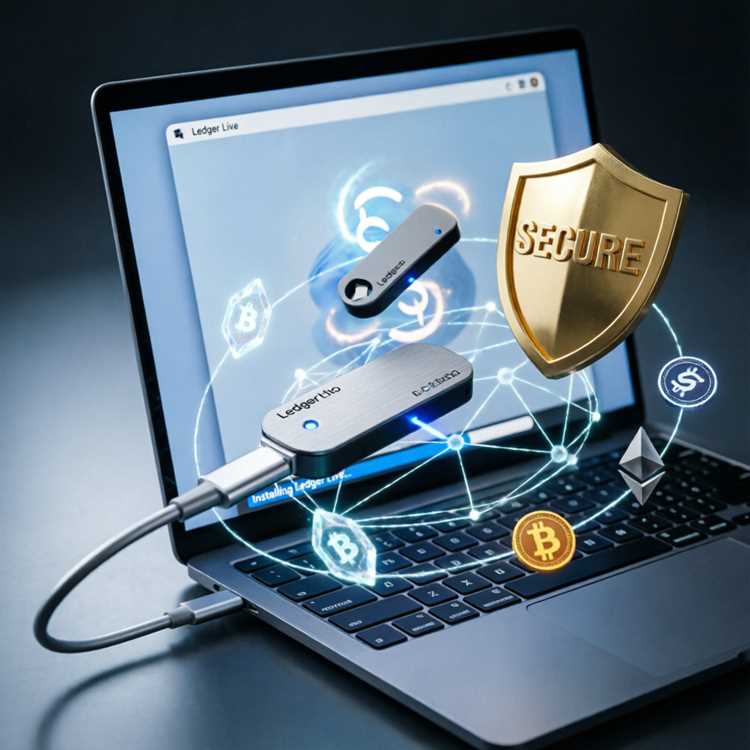
Connecting Your Ledger Device to the Desktop App
Once the wallet is ready, connect your hardware device. Install Ledger Live Windows prompts you to open Ledger Live on the device. Open the app on your device. It should display “Ledger Live” on screen.
USB Connection Troubles
Sometimes Windows does not recognize the device. Try a different USB port. Use the original cable provided. Restart both the computer and the device.
Bluetooth Connection for Nano X
Ledger Nano X supports Bluetooth. Pair it through Windows settings. Open Ledger Live and select Bluetooth option. Connection is stable within 10 meters.
Managing Cryptocurrencies with Ledger Live Desktop Windows Guide
Ledger Live desktop Windows guide helps you manage assets. You can send, receive, and stake coins. The interface shows portfolio value and transaction history.
Adding Accounts for Different Assets
Click “Add account” from the left menu. Select the cryptocurrency you want. Follow the prompts to create an account. Each asset gets a separate address.
Sending and Receiving Funds
To receive funds, click “Receive” and copy your address. To send, click “Send” and enter recipient address. Confirm every transaction on your device. Double check addresses before signing.
Staking options are available for proof of stake coins. Earn rewards by delegating your tokens.
Advanced Settings and Backup Options
Go to Settings to customize your experience. Change currency display and language. Enable password protection for the app. Keep your Ledger Live updated for new features.
Backing Up Your Recovery Phrase
Store the recovery phrase in a safe place. Use a metal backup to protect against fire or water. Never store it digitally.
Using Passphrase for Extra Security
Ledger devices support a 25th word passphrase. This creates a hidden wallet. Only enable it if you understand the risks. Losing the passphrase means losing access.
For Mac users, a separate Ledger Live desktop Mac guide is available.
Troubleshooting Common Installation Issues
Problems during installation can happen. Often they are easy to fix. Check these common solutions.
| Issue | Cause | Solution |
|---|---|---|
| Installer not starting | Antivirus blocking | Temporarily disable antivirus |
| Error 0x80070643 | Corrupted installer file | Re download from official site |
| Device not detected | USB driver missing | Install Ledger driver manually |
| App crashes on launch | Outdated Windows version | Update Windows to latest build |
If problems persist, visit the Ledger support website. Community forums also provide help.
Frequently Asked Questions
Do I need an internet connection to use Ledger Live?
Yes, for updates and balance checks. But private keys stay offline on the device.
Can I use Ledger Live without a hardware wallet?
No. Ledger Live requires a Ledger device for secure transactions. It cannot function as a software only wallet.
Is Ledger Live free to download and use?
Yes. The app is free. You only pay for the hardware device.
How do I update Ledger Live on Windows?
Open the app. Go to Settings and click “Check for updates”. Or download the latest installer.
What happens if I lose my recovery phrase?
You lose access to your funds. Always make multiple backups. Keep them in different locations.
Can I install Ledger Live on multiple Windows computers?
Yes. Use the same device and recovery phrase. Each installation gives access to the same wallets.